How to choose wood or pumpkins…

I’ve learned two things since coming to Italy that make the cold weather more tolerable: how to pick pumpkins that are just right for cooking and how to select firewood. In case you need to know…

Pick a pumpkin that seems heavy for it’s size, the knobbly ones are the sweetest. You can’t carve them for jack o’ lanterns but they make mouthwatering risotto that will make even a 4 year old ask for a piece of bread for ‘la scarpetta’

On the contrary, firewood should be light for its size…weight is not an indicator of density but rather an indicator of how wet and/or full of sap the wood is. Wet or green wood is not useless, it will slow down an overly hot fire if you have a closed wood-burning stove.

 Now, if you feel like settling in to a nice cosy dinner for two by the fire, here’s the pumpkin risotto recipe as taught to me by my sweetie:

@font-face { font-family: “Times New Roman”; }@font-face { font-family: “Georgia”; }p.MsoNormal, li.MsoNormal, div.MsoNormal { margin: 0cm 0cm 0.0001pt; font-size: 12pt; font-family: “Times New Roman”; }table.MsoNormalTable { font-size: 10pt; font-family: “Times New Roman”; }p.Body, li.Body, div.Body { margin: 0cm 0cm 0.0001pt; line-height: 12pt; font-size: 12pt; font-family: Helvetica; color: black; }div.Section1 { page: Section1; }

Pumpkin Risotto for 2
1 small knobbly pumpkin cut into ½ in. chunks – approx 2 cups (if you can’t find a good pumpkin, butternut squash is fine)
3-4 cups chicken or vegetable broth
olive oil
½ onion finely chopped
2/3 cups of arborio rice (or other rice for risotto)
1 heaping tablespoon of butter
¼ cup grated Parmesan
if you can find a good, small knobbly pumpkin (not the big smooth orange ones which tend to be watery and tasteless) cut it into cubes, 1.5-2 cm. put a small pot of good broth (Chicken or vegetable) on the burner and in another, medium sized saucepan simmer half a finely chopped onion. when the onions are almost transparent put the pumpkin in there (for a risotto for 2 people, you’ll want about 2 cups of pumpkin. (if you can’t find a good pumpkin, butternut squash is fine) once the pumpkin starts to soften, it may soak up all the oil from the onions, at which point, add a ladle-full of the broth and simmer until it’s all soft but not completely pudding. throw in 2/3 cup of rice for risotto: vallone nano, arborio etc.) and stir continuously into the pumpkin, so that it soaks up all of the oil and moisture from the first simmering. then pour in a ladle of the broth at a time, and continue to stir evenly as the rice soaks up all of the liquid and cooks together with the pumpkin, making a creamy, starchy glop. it should take about 35 minutes to get the rice to the point where the pumpkin is almost completely dissolved into the orange gloppy mass of rice,but the individual grains of rice are still “al dente” under your teeth. it usually takes about 3 cups of broth. when the the rice is still a bit terse but has made a lovely creamy goo around itself, turn off the heat and add an abundant tablespoon of butter and about 1/4 cup of freshly grated Parmesan. stir it all together well and let it sit while you prepare the table (5 min. is perfect)

An American Kitchen in Italy

I’ve been editing a series of cookbooks this week: appetizers, cupcakes, tappas, amuses-bouches…I’ve also been cooking because NOW is the time to get fresh produce in Italy. Honestly it’s always a good time but summer is when classic Italian veg is at it’s peak: tomatoes, aubergines (eggplant), zucchini, bell peppers. It’s all good.
There is another wonderful thing that I’ve discovered since I moved here and that’s veg prepared sott’olio. My favourite is melanzana (aubergine or eggplant). Conserving things (even cheeses) ‘under oil’ is an Italian tradition but I do the ones that stay in the fridge. I don’t have time for canning but a lovely lady from piedmont explained to me how she made her’s (which were delicious) and I worked out my own way to make them at home.

Prep and cooking: only about 30 min!
Ingredients:
2 small Eggplant sliced in rounds 1/4″ thick (before you blanch and stick your tongue out and screw up your face in disgust…they’re GOOD this way; I swear! If you you can’t tolerate the idea use zucchini, or even yellow ‘crookneck’ squash)
2 TBS chopped fresh herbs. I suggest the following combinations: Eggplant / sage; Zucchini / mint; Yellow squash / thyme. Feel free to experiment.
2 cups extra virgin olive oil (it’s alot but you can use what’s left in the dish for the next batch.
3 cloves garlic sliced paper thin (optional – if you don’t like garlic you can replace this with shallot or even sweet red onion)
1 tsp. basalmic or red-wine vinegar.
Salt

Okay, now it’s really easy: slice the veg. sliver the garlic. chop the herbs fine.

Heat a large cast iron skillet until it smokes. Before setting mine on the stove I rub it with 2 TBS seasalt and 1 tsp olive oil and then wipe all of that out with a paper towel. Don’t use stainless steel. Don’t use anything thin. If you’re stuck use a non-stick skillet. I repeat: DRY SKILLET!

 Place the eggplant rounds (or zucchini strips or squash strips) in the skillet (don’t crowd) and let them toast. It will take awhile, they’re full of water (squash and zucchini will cook much faster!).
While you’re waiting, fill a flat, fairly small glass casserole or plastic dish with 1/3 of the oil, vinegar, herbs, and garlic or shallot. Wiggle the tines of a fork around in it to mix a bit and sprink with salt.

When the edges of the eggplant start to turn colour, turn them ;). They should look like the pic below, if they don’t turn them back and let them cook longer.

Let them continue cooking until the under sides look like the tops.

Now, take each slice out of the pan with a fork and set it down in the dish of oil wiggle it with the fork and then flip it over so that both sides are coated.
Arrange them in a fan as you work and squish them down with your fork.

Layer #1

Add more slices to the pan and keep going like this, adding layers as you go along with oil, herbs, garlic and a few drops of vinegar as you go. Remember to coat both sides with the oil and keep pressing lightly with a fork. It should look something like this:

Layer #2 (the white things are garlic slices)

Finish the final layer with a bit more oil and a final sprink of herbs. Let cool on countertop. Cover with plasticwrap (clingfilm) and put in the fridge. You can eat them right away and they’re good, but they’re even better the next day (or the day after). They will keep for at least a week; in our house they never last that long! After resting they will look like this:

These tasty slices are DELICIOUS with soft or aged goat cheese (chevre), fresh mozzarella, feta, or shaved parmesan. Party plating would be to take a tablespoon of or strip of fresh mozzarella, roll-up in one of the eggplant slices, close with a half a cherry tomato and a toothpick. They are also good over a slice of toasted bread with thinly sliced tomato and chevre or mozzarella.

Pesto: It’s not just a recipe, it’s an adventure!

My daughter has been asking for Pasta con Pesto for 2 days now. It’s her steady dinner request second only to Pasta al pomodoro. Our basil isn’t big enough yet so today we just decided to play with what we had:

Sage
Rosemary
Mint
Summer Savory
Lemon rind
garlic
walnuts
parmesan
salt

Making Ragu á l’americana

First of all, I have to say that I know the recipe for traditional Italian Ragu. This is kind of like it but not it because that would require going to the butcher to get the precise mixture of meat ground there. Instead, this is the Ragu that I make almost every weekend with ground pork sausage that I buy at the store and what I have in the house…it’s still really good! It also does that wonderful trick of making up 3 meals worth of sauce for our family of 2 grown-ups and a little girl.
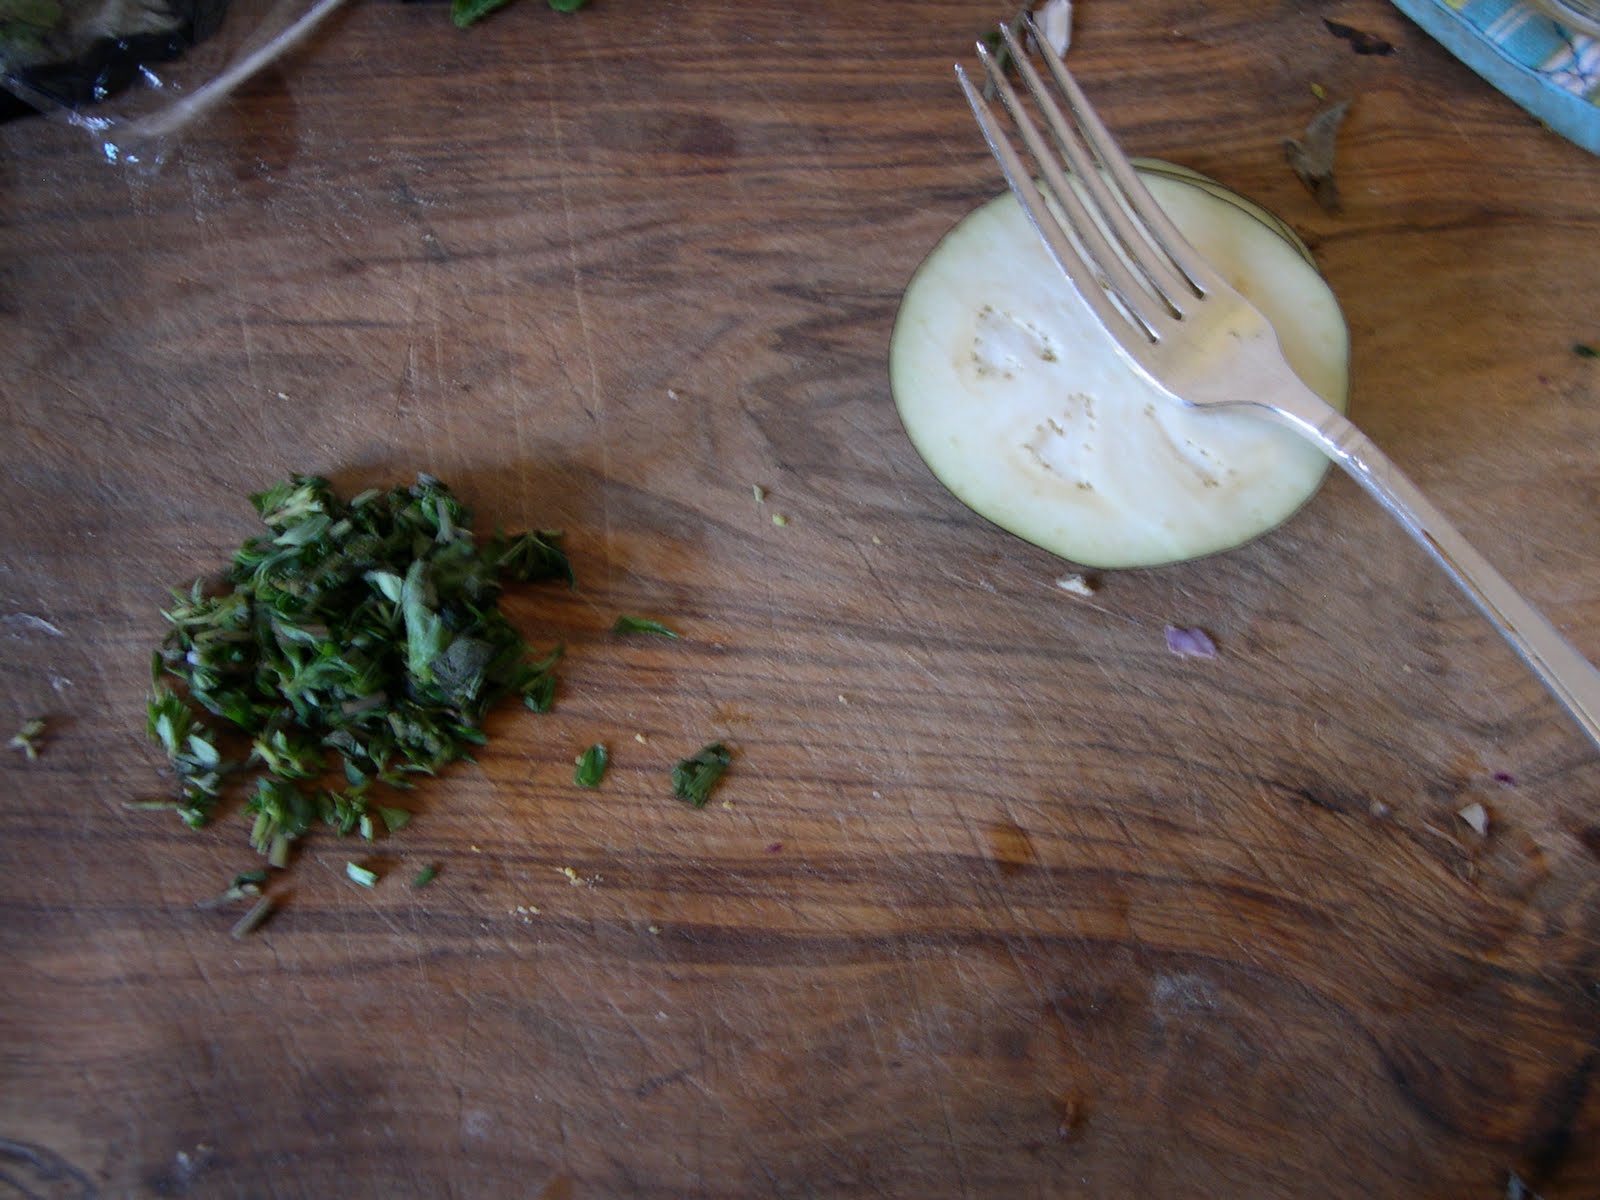
Start with mirpoix (onion, celery, carrot) either diced very small or minced fine.
The total volume of minced vegetables should be equal to the volume of meat. I use about 1 pound (500grams) of PORK sausage, this is a good quantity for 2.5 people to get 3 meals worth of sauce. It doese’t have to be Italian sausage or skinny but don’t use Jimmy Dean (which is delicious, but not for this). If in doubt, just buy high quality ground pork; but not lean, it needs some fat in it.

Saute the veggies in 1-2 tbs. of olive oil (you can use half olive oil and half butter if you want). After about 10 min over med-low heat they’ll start to caramelize a bit (if you’re lucky).
While this is cooking mince garlic (2 cloves or less) and crush some clove or get the powdered clove from the cupboard. If you’re one who’s tempted to have a heavy hand with spices, now is the time to back off by half. One of the fine qualities of good Italian food is clear, simple flavours. You can, if you like that kind of thing, crush a single juniper berry and add it to the 1/8 tsp (or less) of clove. Don’t add these yet, just have them ready. You may also chose not add any of these spices/garlic, esp. if you’re using a gourmet sausage like the kind one can find at Whole Foods.

Now comes the part where you add the wine (red or white or even a desert wine or a marsala). I’ve also used cognac. Just be aware that what you use to de-glaze the pot will effect the flavour, sweet wine, dry wine, red or white shades the tone of the finished Ragu.
This is going to cook a long time. The flavours will concentrate. If you don’t do the alcohol kind of thing, you can de-glaze with water and it’ll be okay. For the quantity I mentioned above I use 2-3 tablespoons…enough to get the good stuff off the bottom without making soup.

Now, let the wine cook down and the veggies dry out a bit in the pan. If you have sausage with a casing on it, use this time to remove the sausage ‘skin’. when the veggies have absorbed the wine and are about to start caramelizing again turn down the fire to low. Then, add garlic and spices along with the meat. Take a wooden spoon and start breaking up the sausage right away, don’t let it brown on cook up into clumps. You want it to be the consistency of…well, dog food. You can also add 1 or 2 (but not more) twists of black pepper from a pepper grinder. Do not, under any circumstances, add salt.

Once the meat is no longer pink but not brown. Turn off the fire under the pot (or move to a cold burner if you have an electric stove). Let the flavours sink into the meat while you decide about the tomatoes.
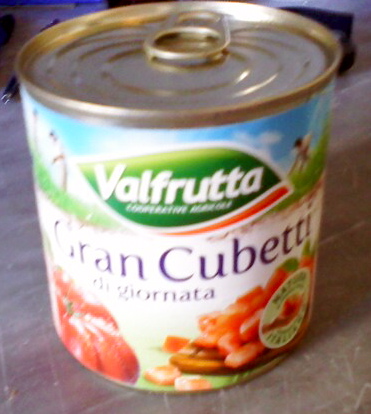
Tomatoes depend on the season. If the tomatoes you’re finding at the store have a blast of acid tang but otherwise no discernible ‘tomato’ flavour, skip them and use a good brand of canned tomato. If, on the other hand, they are big and beautiful or small and sweet, chop up about 1-1/2 cups of them being careful to conserve all of the juice. Right now it’s winter, good tom’s are hard to find so I’ve opted for pre-diced, canned tomatoes. You can also use canned if you’re just not feeling like doing all that chopping.

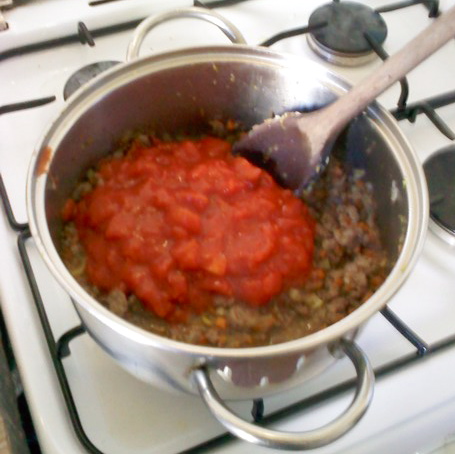
Okay, now that you’ve happily resolved the tomato issue, move the pot to the smallest burner on your stove, with it’s very lowest fire (or setting). Splorp in the tomatoes!

Okay, here comes the easy part :). Making sure that the meat is broken up as small as possible, stir in the tomatoes and slid a lid half way onto the pot and sit down to drink a glass of wine. Ragu is slow food, it needs to cook over this low fire for at least 3 hours for edible and preferably 4 for irresistable. If you started in the morning thinking you’d have it for lunch and suddenly find that it’s not going to happen, relax, you can have it for dinner. Never start a ragu later than 2 or 3 in the afternoon…unless you want it for breakfast. Remember this is 2-3 meals you’re going to put 2/3 of it in the freezer and have a care-free, ready in 20 min. meal twice next week.

Now, just to be sure, when I say a low fire on a small burner, this is what I mean. You’ll need to stir it about every half hour (unless you smell it burning). If it seems to be getting to dry, add in a dash of wine and cover it completely with a tight lid.
Brief warning, don’t cook it even 10 min. more than 4 hours, the meat will turn to saw-dust, trust me, I tried it once.
Okay, boil the pasta in well salted water (1 scant Tbs. of sea salt for every 2 quarts of water) 100 grams of pasta per person for adults. Use something that has ridges or crevices to grip the sauce or spagetti (any fresh egg-pasta is also good including filled ones such as cheese ravioli or tortolini).
Now, and only now, taste the sauce to see if it needs salt. When the pasta is almost done take the lid off the ragu and add about 1-2 tablespoons of the starchy pasta water to the sauce, turn up the heat. Drain the pasta put it in the serving bowl, add butter (yes butter, not olive oil) 1 tbs. to the pasta and one to the sauce. Turn off the fire.  If you want to eat Italian-style pasta con ragu, ladle out about 1/3 cup of sauce for each 100 grams of pasta…. Italians do not drown the pasta in sauce, if the pasta is good, it is nice to be able to taste both. In Italian they call this kind of dish pastasciutta, pasta is the main ingredient to which the sauce is added as an accent.

If you want american-style spaghetti then put the whole pot of sauce over a pound of cooked spaghetti.

Stir the sauce through the pasta and then dish it up! Tastes great with a dusting of freshly grated parmesan.

Divide the leftover sauce into two containers (about 1 cup of sauce per container) and let cool before putting in the freezer. You can also use this sauce for the meat-sauce part of Lasagna but that’s a whole day project!

Hope that you enjoy making it as much as eating it.

%d bloggers like this: